For those who don't follow me on Facebook, you may not have heard the news that I was asked to tape another bread class for Craftsy.com. I just back from Denver where the company is based, after four days in their "Studio F", which is a defunct cooking school converted into a TV studio for their cooking classes. It's located in the Ice House building, just up the street from Coors Field where the Rockies play.
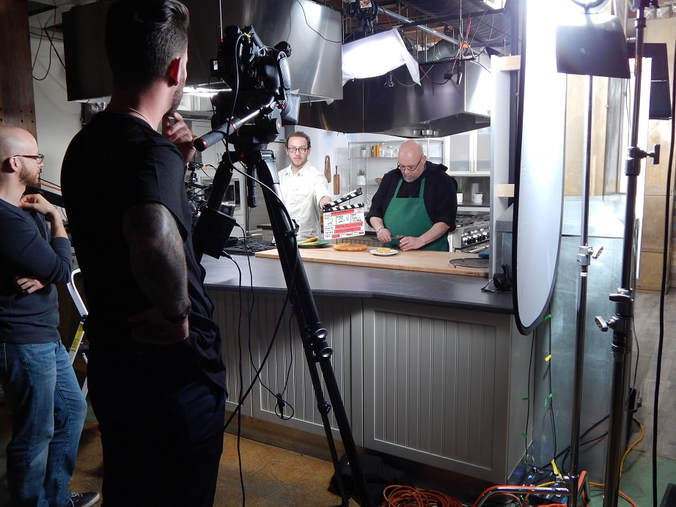
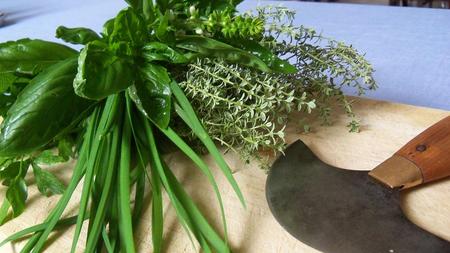
Shooting my second Craftsy Class "Baking with Herbs and Spices"
The class is "Baking with Herb and Spices" and is made up of six different lessons of about 20 minutes each, with two recipes thoroughly demonstrated in each lesson.
Lesson 1: Multigrain Baking Mix
Multigrain Baking Mix
Waffles with chicken and sherry cream sauce
Welsh Cakes
Lesson 2: Skillet Breads
Apricot Skillet Bread
Farinata
Lesson 3: Savory side breads
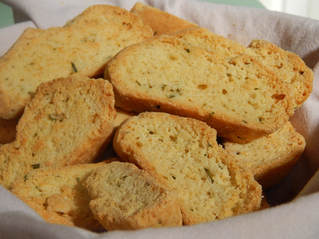
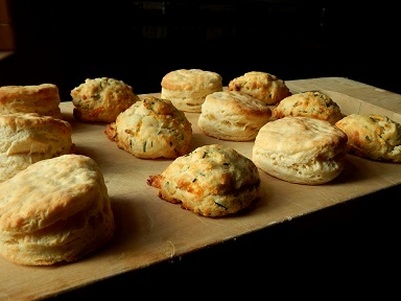
Savory Biscotti
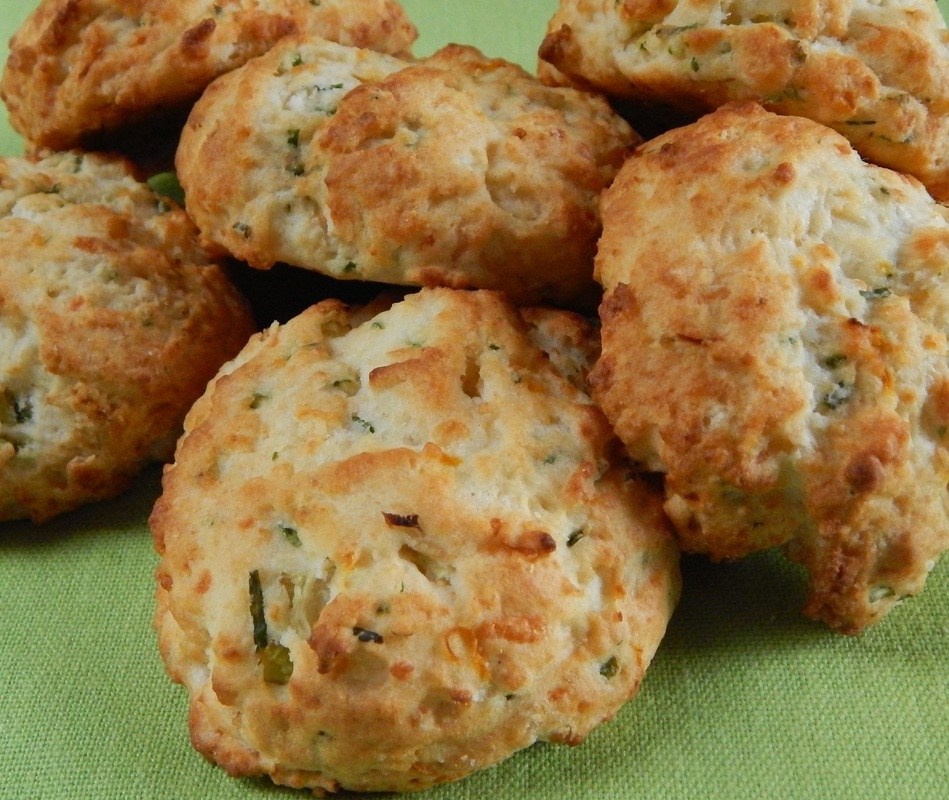
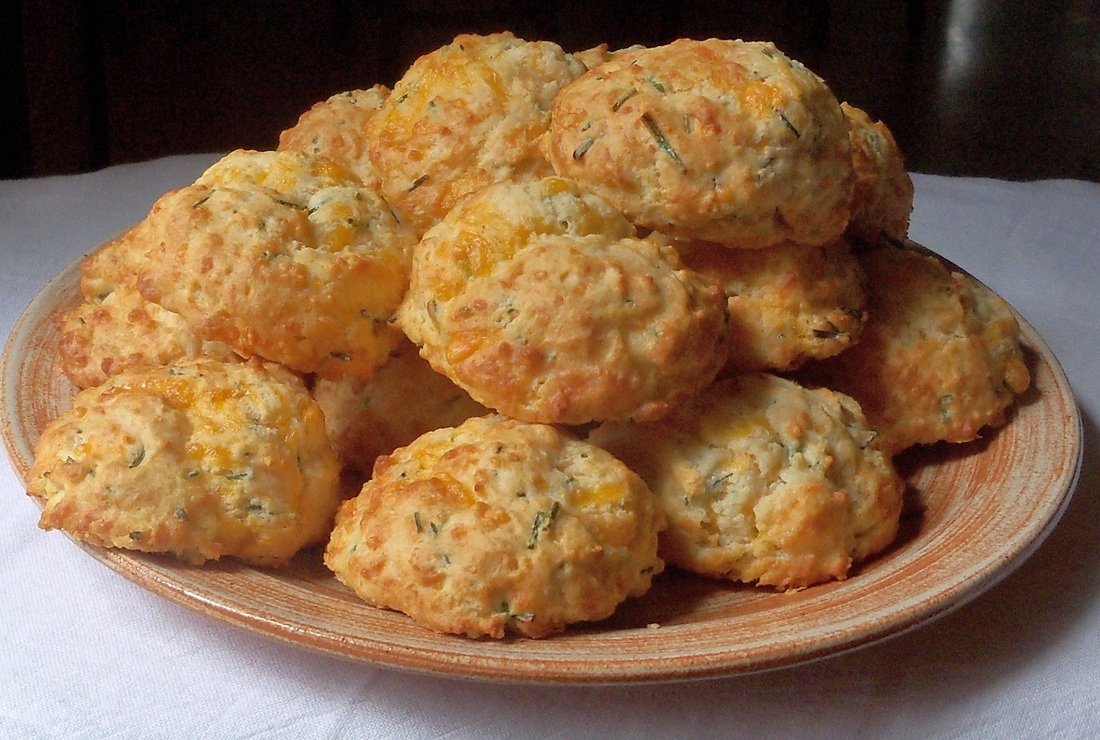
Cheddar Chive Breadsticks
Lesson 4: Spirals and Swirls
Sausage Roll-Ups
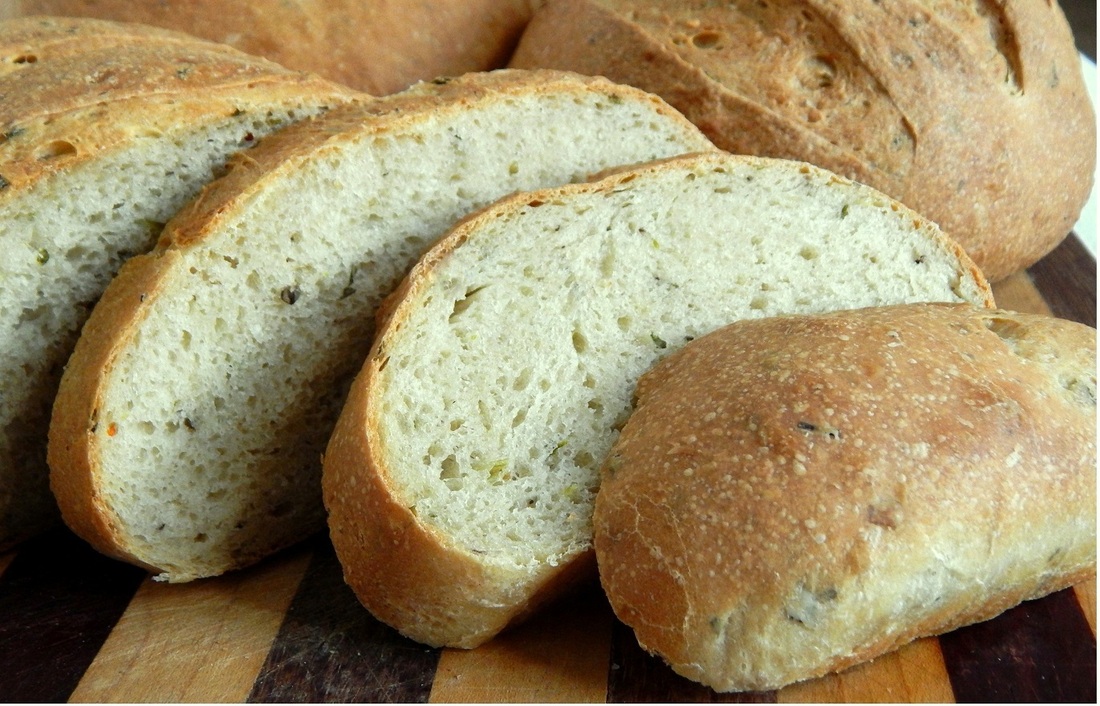
Italian Herbal Swirl
Lesson 5: Summer and Fall
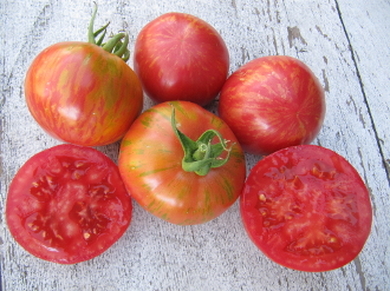
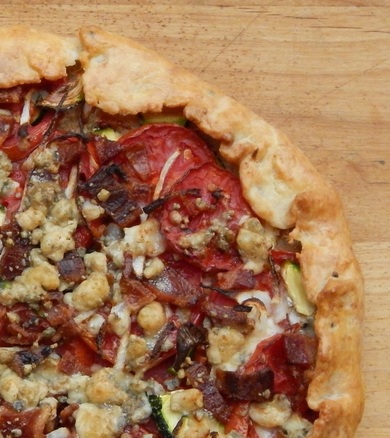
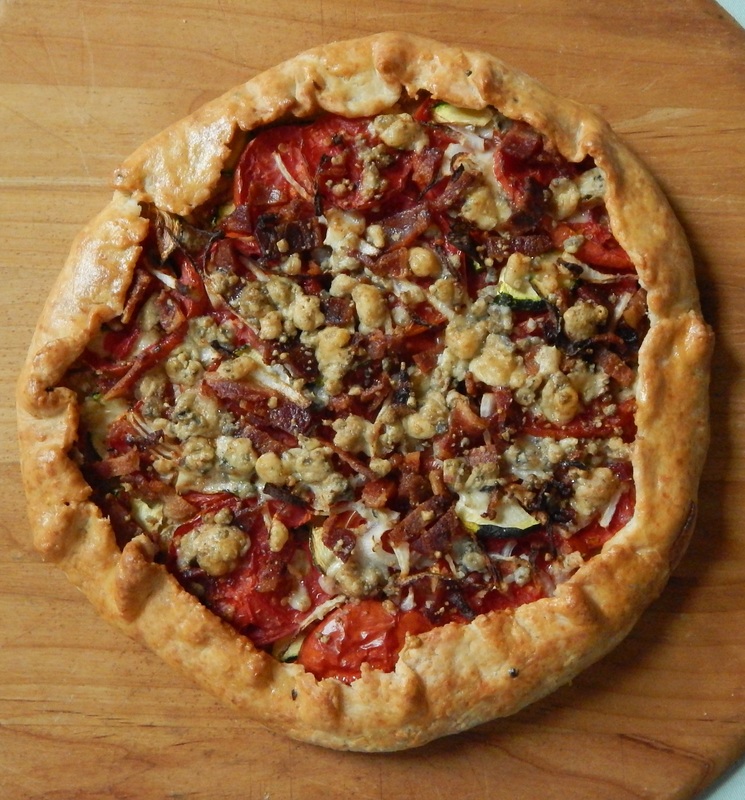
Tomato Bacon Galette with Gorgonzola
Whole Wheat Stuffing Bread
Lesson 6: Herb Breads with a meaning
Housewarming Rolls
Herbal Encouragement Bread
Lesson 1: Multigrain Baking Mix
Multigrain Baking Mix
Waffles with chicken and sherry cream sauce
Welsh Cakes
Lesson 2: Skillet Breads
Apricot Skillet Bread
Farinata
Lesson 3: Savory side breads
Savory Biscotti
Cheddar Chive Breadsticks
Lesson 4: Spirals and Swirls
Sausage Roll-Ups
Italian Herbal Swirl
Lesson 5: Summer and Fall
Tomato Bacon Galette with Gorgonzola
Whole Wheat Stuffing Bread
Lesson 6: Herb Breads with a meaning
Housewarming Rolls
Herbal Encouragement Bread
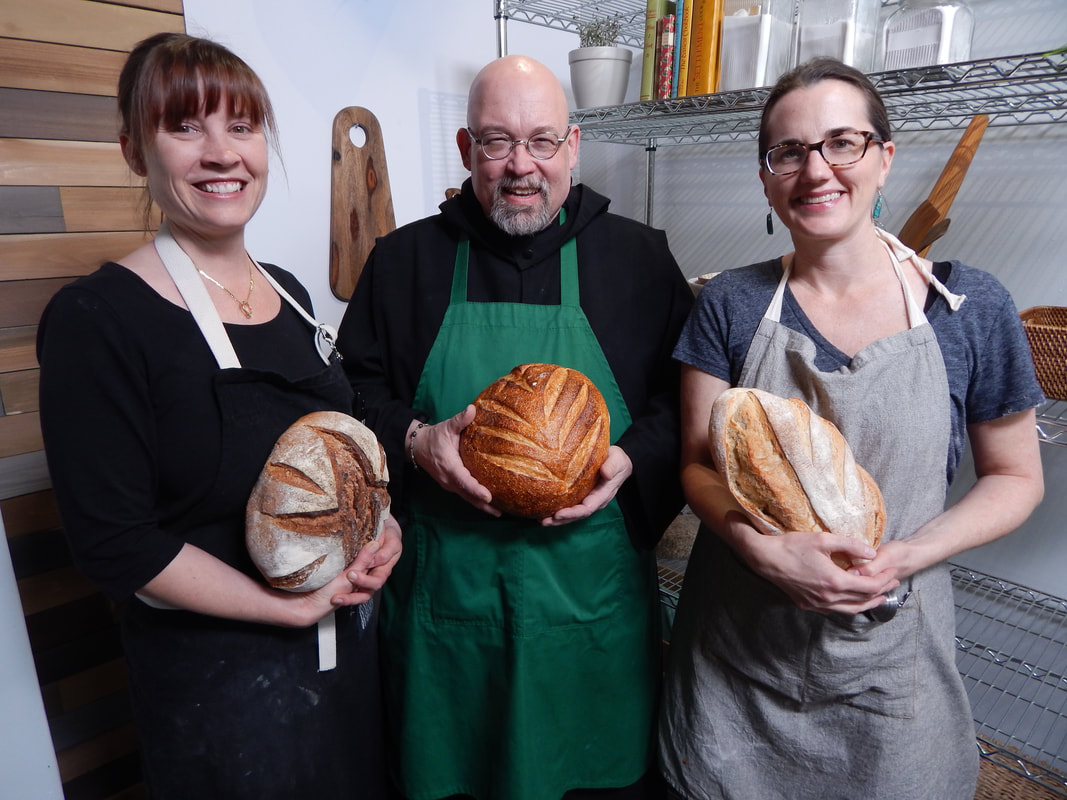
Some of these recipes you'll recognize from previous posts, and dedicated Breadheads will remember the others from the Breaking Bread with Father Dominic cookbooks, or from my live demos. I'll be posting some photos from each lesson over the next few weeks, along with descriptions of my experiences"behind the scenes". As usual, the Craftsy crew was wonderful to work with. Here's my kitchen crew and I on Friday after an 11 hour workday, and as you can see, we're still friends and we're still smiling! The irony in this photos is that the breads we're holding are rock-hard prop breads from the set that we didn't bake!
The class will "launch" some time in April, and when it does I'll post some special links for an introductory discount, plus hold a drawing for a free subscription to the class. Keep checking in for details!


 RSS Feed